
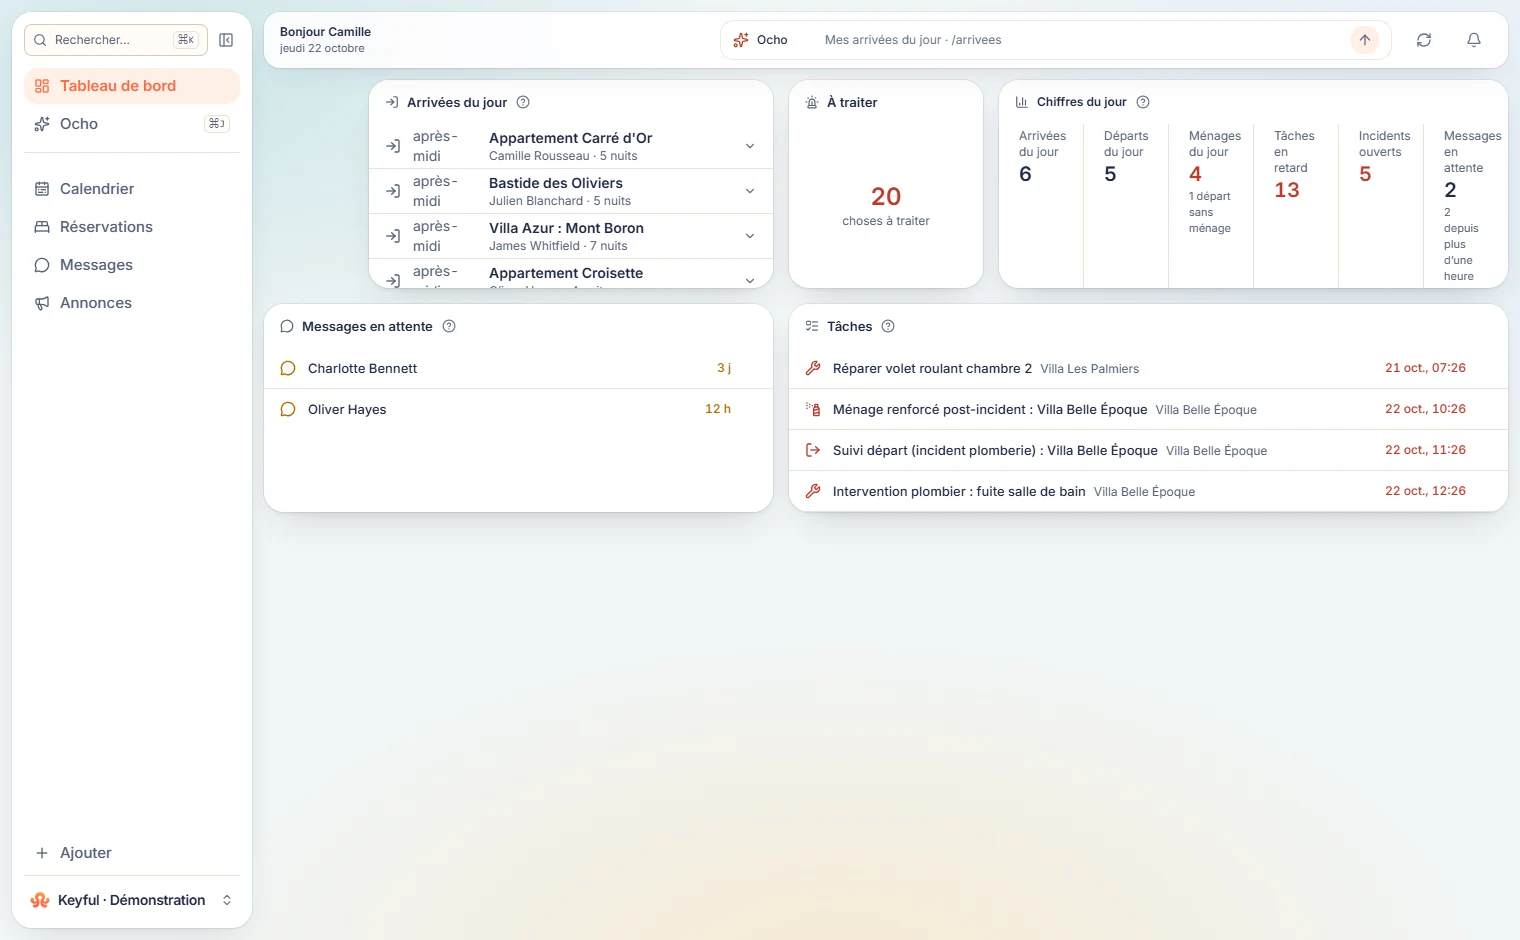
1. Join your organization
To create a workspace, choose your offer, enter your details and complete payment. Verify your email to open the workspace. To join an existing team, use its invitation. Complete the multi-factor authentication setup requested at login. The login page offers a 72-hour keep-me-signed-in option.
2. Check the data source
Open settings and review the selected source and connection. Demonstration data and channel-manager data are distinct. Visible information depends on the connection and its permissions.
3. Prepare your workspace
Open the calendar, check a few properties and bookings, then arrange your dashboard. Review team access before sharing accounts or activating workflows.
Your first check: one property, one stay, one message
Choose a property with an upcoming booking you know. Compare its management name, dates and status with the source. Open the related conversation and confirm that it belongs to the right guest.
This checks the relationships that matter to daily operations. Repeat with a modified booking and a cancelled one.
| Open | Check |
|---|---|
| Properties | Management name, linked listing, cover photo |
| Calendar | Dates, status and property |
| Messages | Guest, history and sending account |
| Finance | Period, currency and available amounts |
Arrange a dashboard for your day
Start with arrivals, this week’s bookings and outstanding tasks. Add the financial indicators you actually consult. Move and resize widgets to suit your work.
Keep the first layout simple: items that need action first, portfolio reporting second. Navigation folders group screens without adding more tabs.
Set access before inviting the team
Prepare roles before invitations. Guest support and field coordination may need different data. Connect personal accounts separately from service inboxes.
Check the workspace using a teammate’s account. You can then create a first procedure, test it and activate it.